Showing posts with label Bags. Show all posts

Friday, 8 February 2013

I Spy Quilt

Another I Spy quilt finished.  Black isn't something I would normally choose for the border but it was hard finding something to work with this one ................


I don't yet have enough different squares for another on but there's plenty of UFOs and other "must do things" to be getting on with.  

The knitting bucket looks better with the handle shortened a bit .........


.

Sunday, 3 February 2013

Yarn Stuff

It will be much easier to do a bit of knitting or crochet in those spare moments now I've made myself a bag ............. no more hunting out needles/hooks and carrier bags full of yarn I'll have it all to hand.  The handle's too long (I was worried about getting "into" the bag if it was too short but it will be ok) so I'll be unpicking that and then this will be nice enough to leave out and I'll know for next time.  The machine (Juki Exceed) was playing up a bit with wonky stitching until I remembered that I'd altered a dial by mistake (instead of a lever) when setting up for free motion the last time it was out so it's fine now.
 

I've had this "Desparate Dan" fabric for a while (ebay bargain) without really knowing what to do with it so am pleased with the pencil case to go with the "Dennis the Menace" (or my interpretation of lol) puppet and other bits for a shoebox later on in the year.


Just a few more knitted puppets that I finished last year ........................


Thankyou bois-fleurie and Puppet Lady for your lovely comments about the lampshade, I'm really looking forward to seeing them all soon.  Bois-Fleurie I'm so sorry that I can't comment on your blog ........... every time I fill the box in it reverts back to an empty box.  The painting's you've been doing are beautiful ......... such pretty colours!

Thursday, 19 January 2012

25 Free Bag Tutorials

I'm always cluttering up the "bookmarks" with stuff that "might come in handy" or that I "might" want to look at again when I've got more time.  There's hundreds of free bag patterns and tutorials on the web but here's some of the ones I've bookmarked:

Owl Bag


Toddler Backpack
(the pic is my version) 


Bird Purse

Car Caddy

Cosmetic Bag

Spring Felt Bag

I've only ever used one of them and that was for the toddler backpack!  My husband quite fancies the "car caddy" and I shall make him one when I've thought up an alternative "lining".
.

Tuesday, 22 November 2011

200th Post Giveaway

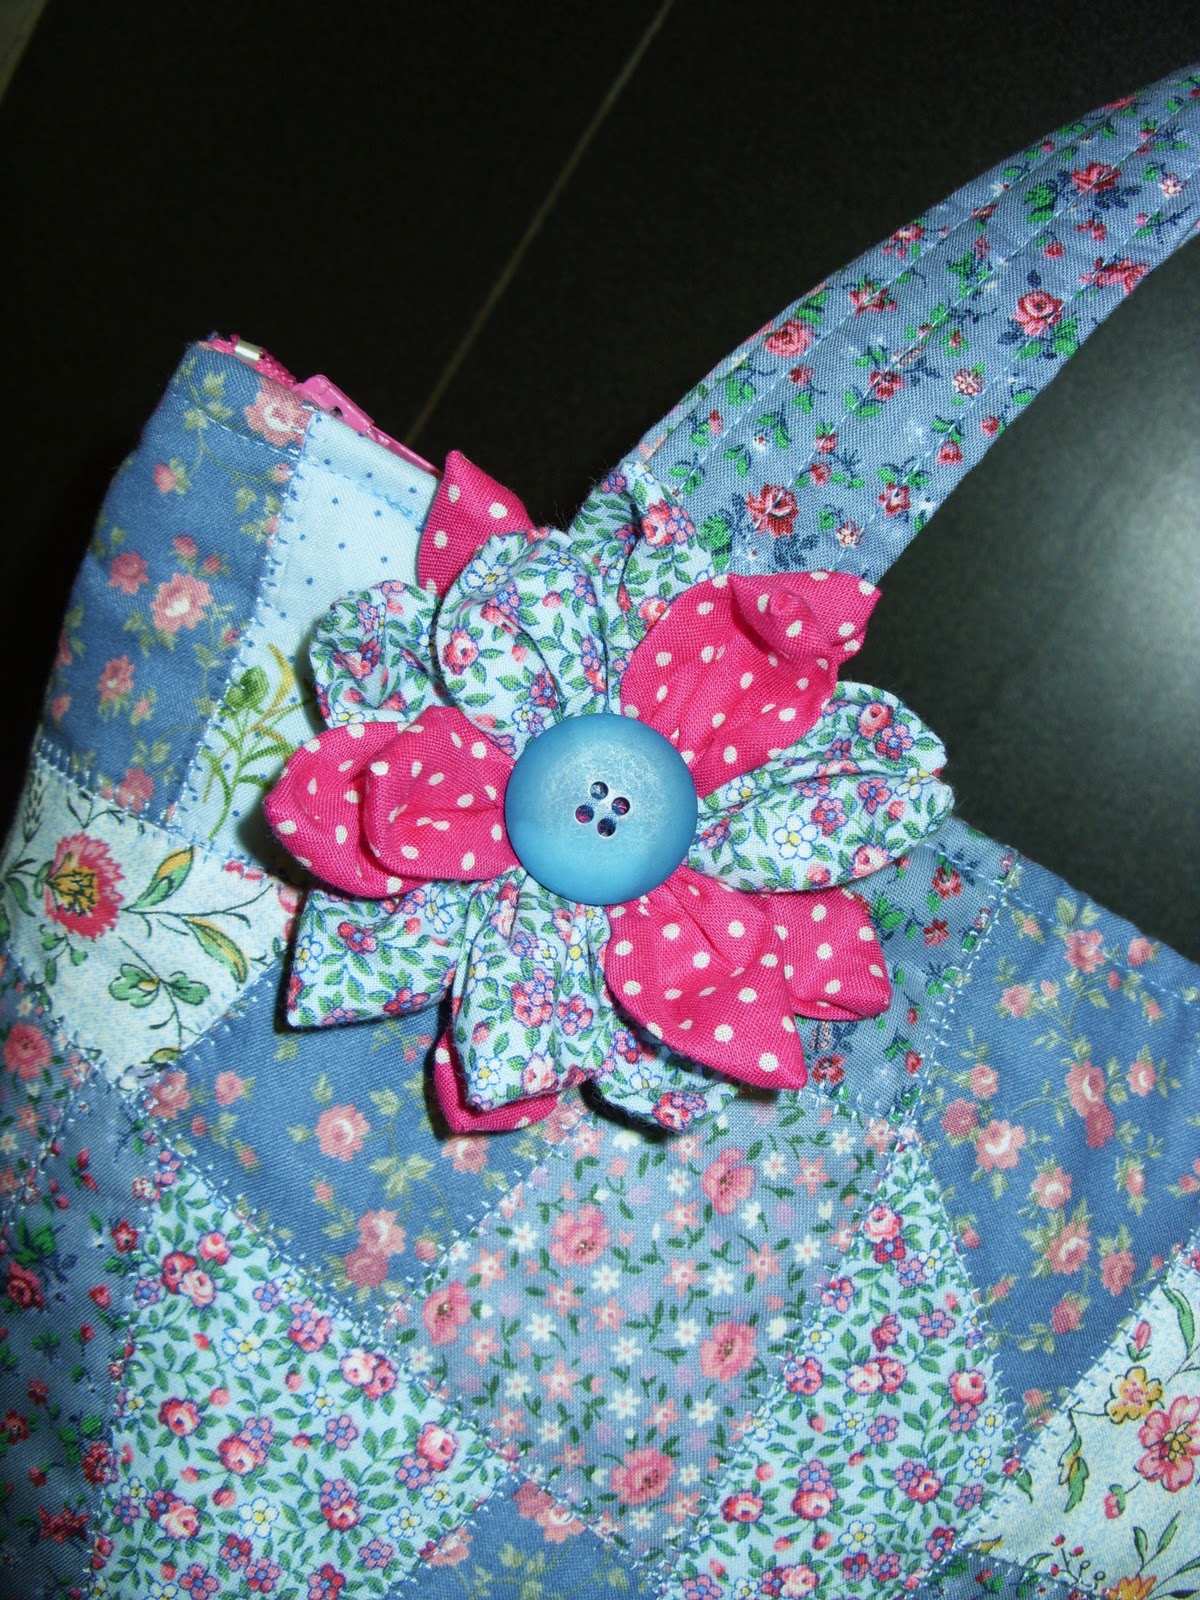
Well I went with the flower and was pleased with it ........... until I uploaded some pics and now I'm not so sure ......... though it does seem to look better in reality ............ pinks are a funny colour to photograph!
 
 
The "Flowerpot" Bag


Now for the giveaway ................ a little goody bundle for embroidery/embellishing.  No pic yet, I need to have a bit of a sort out and get some bits together  I'll pick the winner from the comments on this post at the end of November .............. good luck and I hope the randomly chosen poster likes what I choose for them.  Comments on my facebook page  will be included in the draw too.
.

Monday, 21 November 2011

Designing a Bag ..........

A quick 10 second sketch for a "Flowerpot" Bag.  First thoughts were summery pinks and greens but out came the fabrics and I decided on something more in keeping with the season.  The cotton shirt that I grabbed before the latest sort out went off to the charity shop a couple of weeks ago would be perfect for lining the crazy quilted outer panels.
 

An Inner zipped pocket .......


The actual shirt pocket unpicked and stitched to the lining the other side is handy for those quick to grab items ...........


Not quite sure about the planned 3D fabric flower(s), I'll do one and decide before finishing it off.  I'm really pleased with the upcycling of the shirt, not only due to the price of cotton these days but it adds a personal touch!  When I think of the pretty cotton dresses my daughter used to wear (many years ago!), I could nearly cry that I didn't think of keeping them for the fabric lol!
.

Friday, 24 June 2011

Easy Elasticated Inner Bag Pocket Tutorial

Up early this morning, it's been nice and peaceful so I've photographed, step by step, the making of a small elasticated pocket for the inside of the bag.  There will also be a zippered pocket so it doesn't need to be too big - just large enough for a mobile phone or keys etc.. The first one I ever did, following instructions from a book, had raw edges inside - I really don't understand why go to all the trouble of making a bag nice on the outside yet roughly finished inside so I came up with my own method.  My finished pocket is approximately 4" wide and 4.5-4.75" deep.


   Cut fabric 7" x 10".  I'm using a dressweight cotton ie. poplin.
 

  Bring short ends together and stitch across with a decent seam allowance.

 
 Press seam open flat


  Turn raw edges to wrong side (about 0.5")


  Turn right side out and press keeping the turned edges as even as possible (they will need to line up when it comes to stitching the picket on) and with the previously stitched seam to one edge (the seam will be on the bottom edge of the pocket)


 Stitch across top folded edge of pocket about 0.5" from fold (or a distance appropriate to accomodate the chosen width of elastic) ensuring stitching is secure at both ends.


 Insert elastic and securely stitch, back and forth, through the fabric and elastic about 0.5" from the end.
 

 Pull elastic up until pocket measures 4" across the top and secure the end as before.  Trim elastic so as the ends are not visible but without being too close to the stitching.
 

 Mark out position of pocket and pin.  At this stage you may wish to tack the folded edges (sides) together before pinning if you're not confident with machining the two folded side edges of the pocket accurately together to the lining fabric.  Try to keep the pocket on the grain of the fabric and fold a single pleat in the bottom so the bottom is the same width as the top.  I've stretched the top of the pocket about 0.25" before pinning so it's not too floppy (any more and it will probably pull in the interfaced lining fabric too much).


Stitch close to the edge around the pocket securing by stitching a few stitches back and forth at beginning and end and keeping folded edges of sides neatly together as you sew.  You may wish to tack before completing this last step, particularly if using a slippery fabric.

I hope somebody finds this useful though pink on pink isn't wanting to photograph very well indoors this morning so do say, please, if the pics aren't very clear and I'll remove the post - no point being here otherwise lol!
.