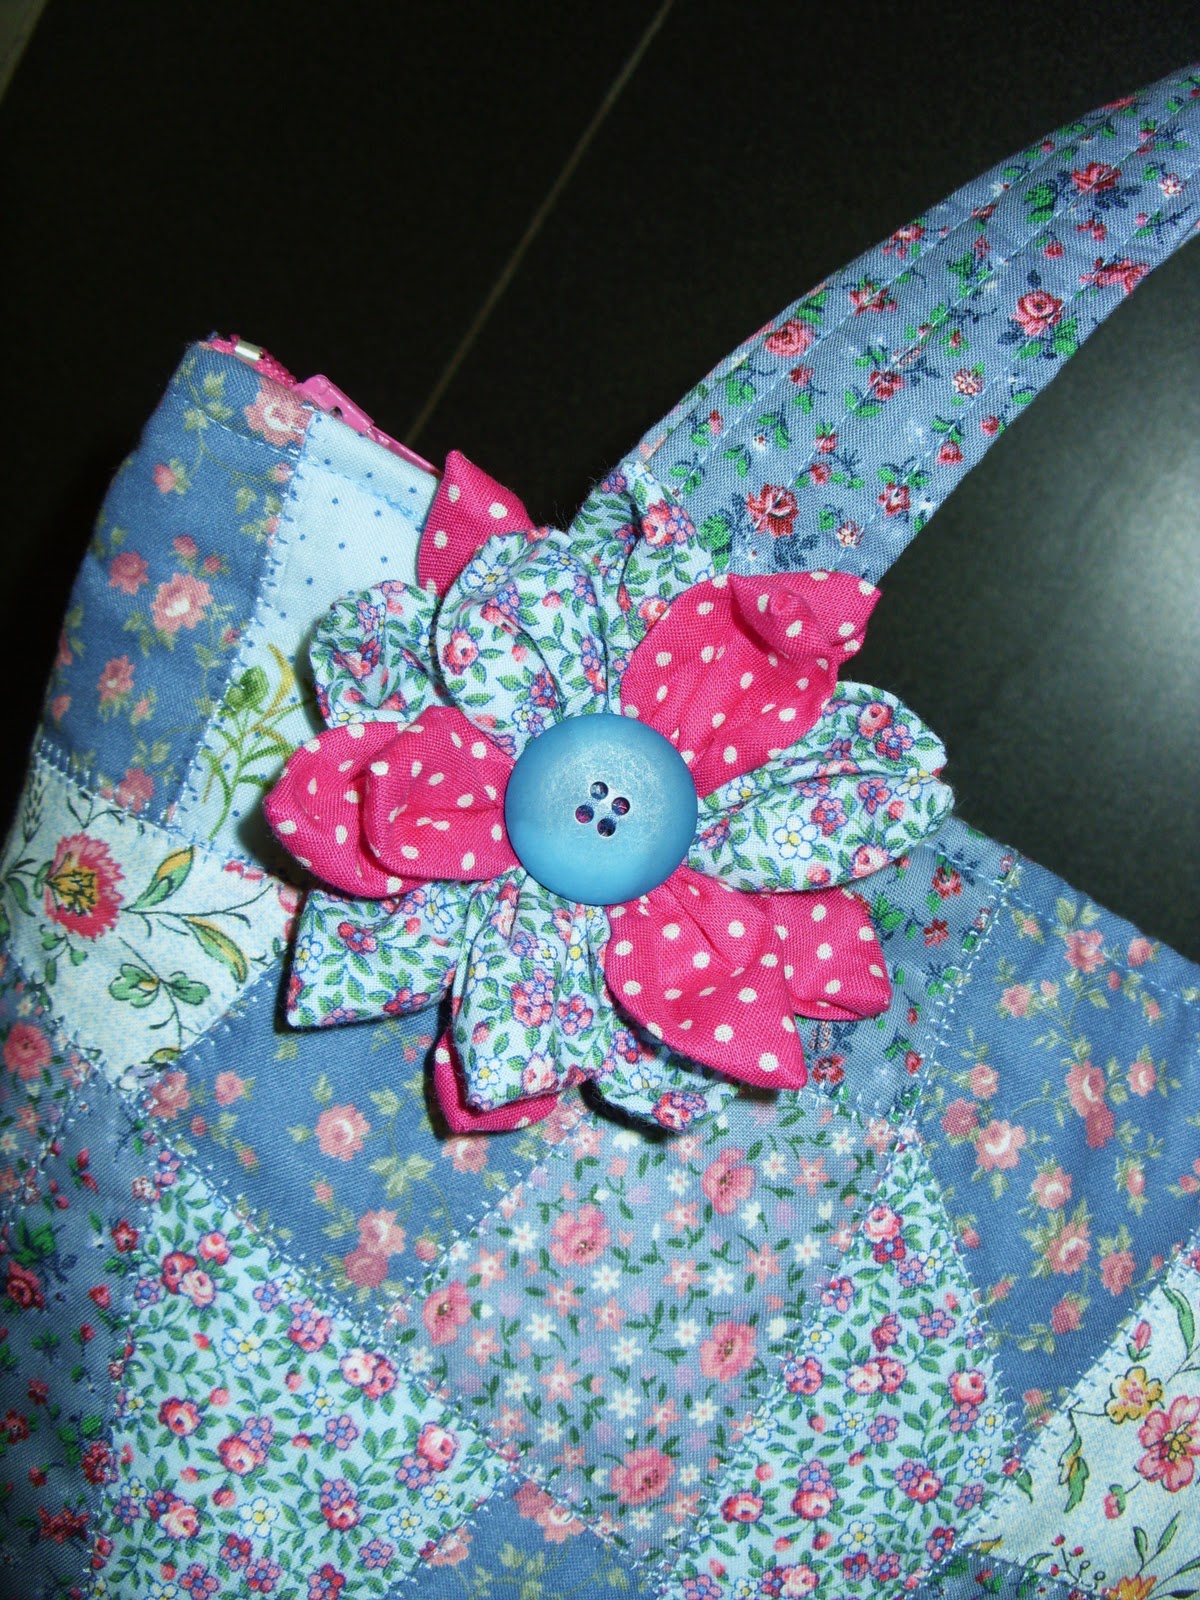
Christmas really has crept up on me this year, more so than ever before I think. I had a list of things still to make but wasn't happy with the microfibre diary covers I've been working on the last couple of days. Quick and easy isn't really my thing and I need to spend more time on them to achieve anything remotely pleasing so decided to spend today finishing something started over a year ago!
13 hours later .......... the Sunflower's wired silk petals and leaves can be arranged as one pleases.
The machines, fabric and threads are being put away early in the morning to concentrate on some baking. The kids like the things we always have so we always have the same things at Christmas ............ it's easier than "where's this?" "why haven't we got that?". Stilton and onion quiche, a bacon quiche, puff pastry sausage rolls, chocolate log and the beginnings of the Mascarpone trifle are on the agenda for tomorrow!
Wishing everybody a lovely Christmas and a happy and healthy 2012
I had a go at Gina's Almond Paste Mince Pies. Having left the paste in the fridge overnight it was rather difficult to pipe. A quick zap in the microwave made it really squidgy but much easier:
They are nice but my favourite mince pie is still the orange and cream cheese recipe I first used back in the 80s ...........
For anybody that would like to try:
1lb plain flour
8oz butter
4oz lard (I used Trex yesterday as it was what I had)
Zest and juice of 1 large orange
Mincemeat
8oz cream cheese (I used the cheapy basics one this time)
2 oz caster sugar
Rub fat into flour, add zest and mix with some of the orange juice. Roll out and cut into 24 linings and lids (I usually get about 32). Add 1 tsp of mincemeat to each tart. Mix caster sugar with cream cheese and dollop a teaspoon onto the mincemeat before adding the lid. Glaze with milk and bake for probably about 20 minutes at 190 (I tend to check the oven rather than time them). The baked pies freeze really well.
Looking for some oven mitts I found a tutorial for some novel looking round pot holders. I think the addition of binding makes for a neater finish though ...............
Peering over my shoulder, my dad was very complimentary about the chicken ones I was stitching. Now I'm not sure why he would be so interested in oven stuff so guess he liked the fabric! Hmmmmm ............ a quilted wine bottle carrier would be just the thing!!!
I used this tutorial but constructed a bit differently, particularly the side seams where I only stitched the top fabric and wadding together leaving the lining to be slip stitched in place for a neater finish. The chicken fabric is quite heavily printed so I found just the one layer of wadding (Insul-Bright to help keep the wine at the preferred temperature for a while) adequate.
.
I had some vintage fabrics that needed freshening up but included in the pile was a large piece of magenta cotton which I just knew was going to bleed .........
The rich magenta coloured fabric is no more (bottom right) but I can still use it, even overdye if necessary ........
and I have two of the most wonderfully dyed "colour catchers"
Giveaway:
Thankyou for all your lovely comments. Everybody's name was duly written, cut out and neatly folded then my husband randomly picked Linda so a little package of goodies will soon be flying across the globe to Australia.
.
Being inspired by some pretty Christmas stockings I've seen on the web recently, I set to making a few .........
The reds and pinks look better in reality but to give some idea ........
I used this free tutorial for a template and did line them, they are a fun project. Now if I could only find more hours in the day to move onto designing some with something a bit more ............ the ideas are there but I'm running out of time now!
There's still time (until the end of November) to comment on my 200th giveaway blog post to enter the draw for some embroidery goodies (a selection of threads/yarns etc.). I'll also include comments on this post and my facebook page in the draw.
.
Well I went with the flower and was pleased with it ........... until I uploaded some pics and now I'm not so sure ......... though it does seem to look better in reality ............ pinks are a funny colour to photograph!
The "Flowerpot" Bag
Now for the giveaway ................ a little goody bundle for embroidery/embellishing. No pic yet, I need to have a bit of a sort out and get some bits together I'll pick the winner from the comments on this post at the end of November .............. good luck and I hope the randomly chosen poster likes what I choose for them. Comments on my facebook page will be included in the draw too.
.
A quick 10 second sketch for a "Flowerpot" Bag. First thoughts were summery pinks and greens but out came the fabrics and I decided on something more in keeping with the season. The cotton shirt that I grabbed before the latest sort out went off to the charity shop a couple of weeks ago would be perfect for lining the crazy quilted outer panels.
An Inner zipped pocket .......
The actual shirt pocket unpicked and stitched to the lining the other side is handy for those quick to grab items ...........
Not quite sure about the planned 3D fabric flower(s), I'll do one and decide before finishing it off. I'm really pleased with the upcycling of the shirt, not only due to the price of cotton these days but it adds a personal touch! When I think of the pretty cotton dresses my daughter used to wear (many years ago!), I could nearly cry that I didn't think of keeping them for the fabric lol!
.
A couple of bedroom cushions. The buttons too large to use the automatic buttonholer on the Juki, I used the "two step" program ......... it was a disaster, stopping and changing to a bar tack whenever it felt like it! I've not had cause to use that machine for buttonholes before so I need to have a really good play before I attempt them again!
Another colourwash I Spy Quilt in the making - I've got so far as piecing the top:
A few pieces of fabric which I hope will combine to make a pretty bag (my current project):
.