
The actual bag panels can be quite tricky to put together for the first time as in Easy Japanese Quilt Style so here are a few pics and notes for constructing the lining (the outer is the same but I had already done that)

Lay out the panels as above with the long side of "A" to the left, the long side of "B" against the short end of "A", the long side of "C" against the short end of "B" and the long side of "D" against the short end of "C". My fabric is laid out right side facing and I have numbered the stitching points for ease of reference when making up for the first time.

Flip panel "A" down over "B" right sides together ............ the short end of "A" lined up against the long side of "B" thus numbers 1 and 2 matching. I have marked stitching line allowing a 1cm seam allowance.

Machine stitch, starting and ending 1cm in from each end.

Press seam allowance open.

Line up panels again

Flip panel "C" over on to panel "B" right sides together (long side of panel "C" to short end of panel "B") making sure panel "C" is overlapping the previous seam 1cm at the top to allow seam allowance for turning.

Stitch seam from the previous seam ending 1cm from the bottom again .......... press open.

Lay out the panels again
Flip long side of "D" over short end of "C" ensuring "D" is overlapping the previous seam of "C" by 1cm as in picture though move the fabric up so raw edges meet (I have just lowered for the picture to show it a little clearer.

The panels should now look like this

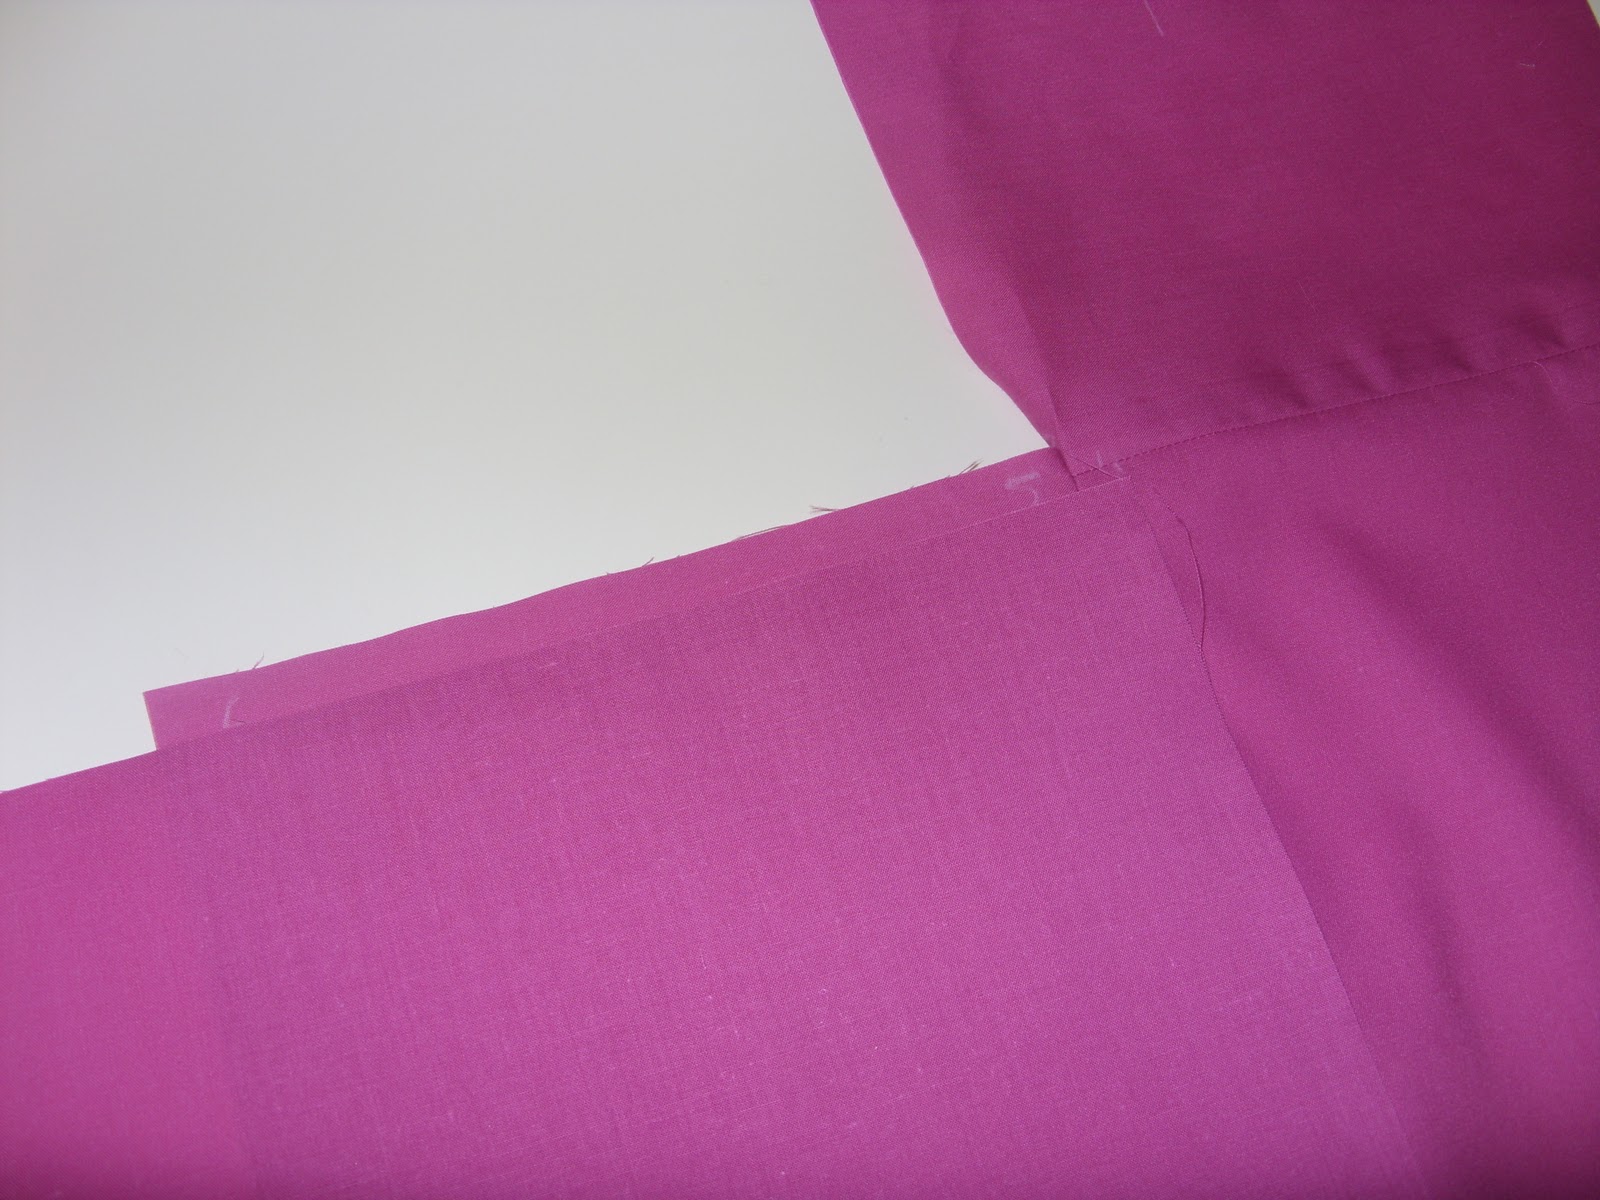
Now stitch the short end of "D" to the long side of "A".

The above pic shows the intersection between panels "A" and "B"

Using the pivot point of stitching match panel "B" to panel "A" right sides together and pin working out from the pivot point towards the end ........... it should overlap a little at the top as in the picture. PLEASE NOTE ........... if you are stitching patched panels together then it is important to match the centre of the squares which will come in the centre of the seam to be stitched. If necessary stitch from this centre point out towards each end of the seam otherwise continue as follows ............

At this point you might find it easier to stitch the reverse of the pinned side ............ it is easier to see where the previous stitching ends thus where the new stitching should start to ensure a good corner. Press seam open.

It should now look something like this. Again, using the pivot point between "B" and "C", right sides together, bring the long side of panel "C" to the short side of panel "B", pin and stitch as previously.

The camera ran out of battery at this point but, as above, stitch panel "D" to "C" and then "A" to "D", press last seam allowance open. You should now have a "square" bag with the bottom of the bag having seams going from corner to corner and meeting in the middle (see top pic).
I hope this makes sense and helps somewhat.
.
1 comment:
A friend gave me a bag like that once that she had brought back from Japan and I spent ages working out how it had been constructed so I could make another. I wish I'd had your instructions!
Post a Comment